Step 1: Make sure you have the proper equipment
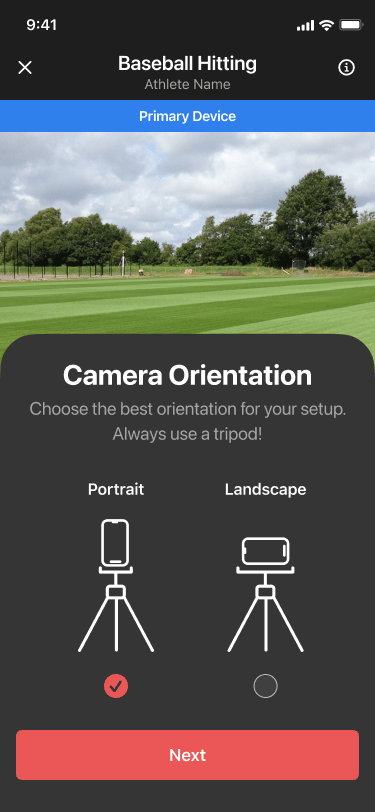
A successful capture depends on your camera devices being charged and stably mounted in tripods and mounts. See this article for guidance on proper setup equipment.Step 2: Camera orientation
The first option you’ll choose on-screen during camera setup is camera orientation.Pick the best orientation for your athlete, movement, and space. This article on portrait vs. landscape orientation provides helpful guidance on when to choose each option.
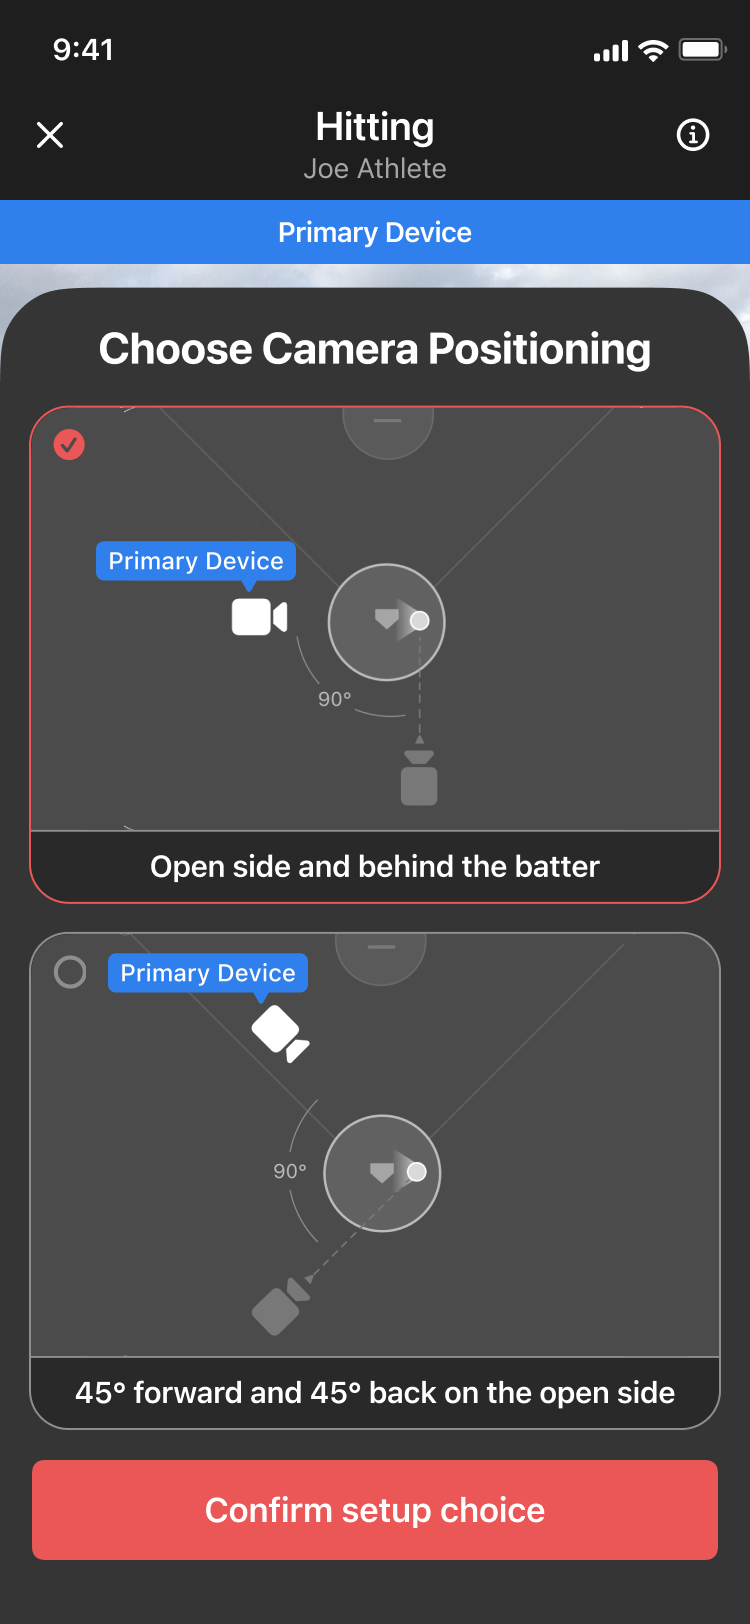
Step 3: Camera positions
In this step you’ll choose which camera positioning works best for your space. Note: these options are dependent on the selected handedness.
Tips:
- Make sure the Primary and Secondary devices are in the right places. There is a colored bar at the top of each screen indicating which device is which
- It’s very important for our 3D reconstruction that the cameras are 90° offset from one another. Using lines on the floor or a 90° laser level can help here.
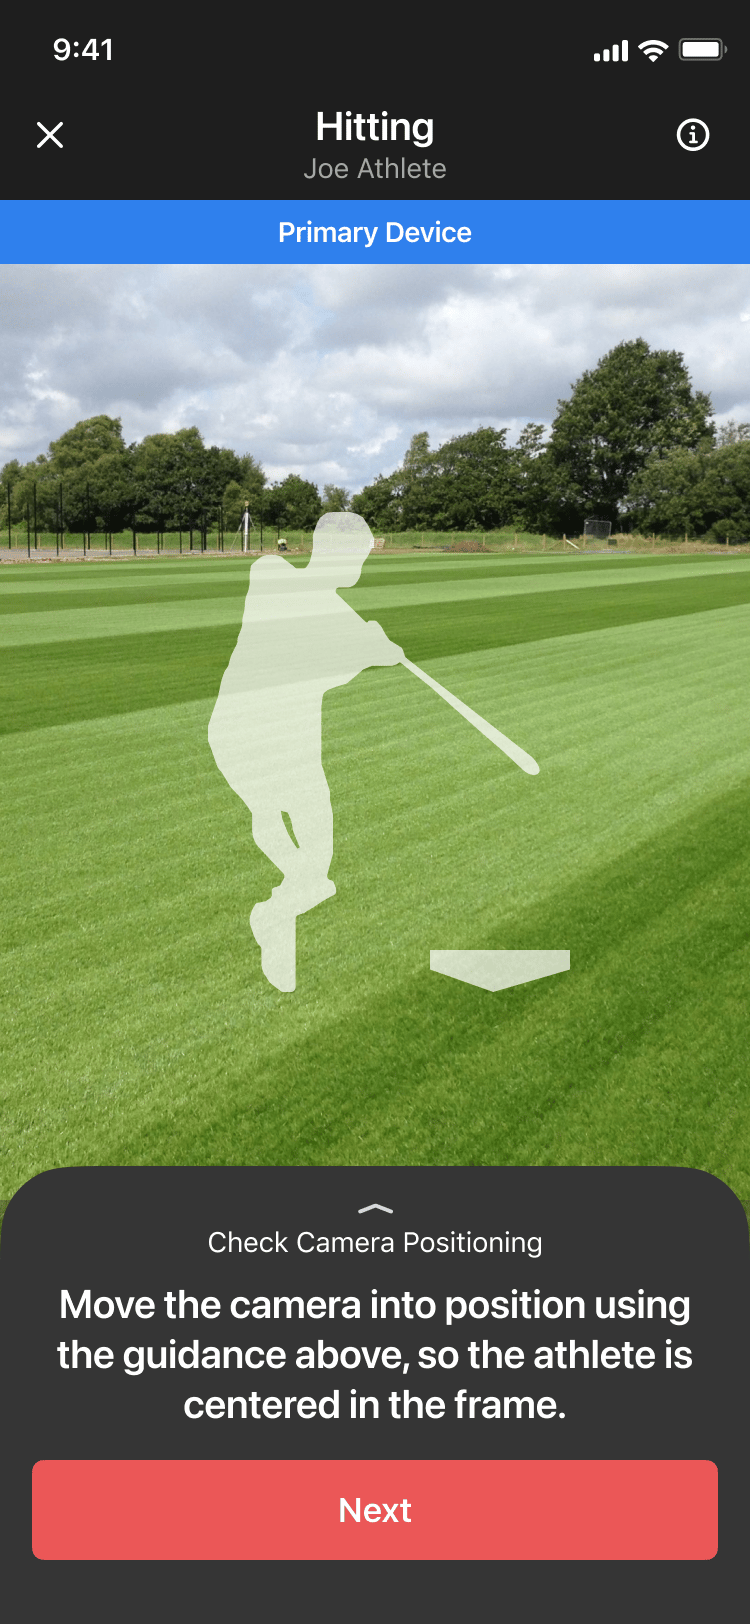
Step 4: Place the cameras
Once you’ve chosen the right positioning, place your Primary and Secondary devices where they belong.
Tips:
- For most movements, there are helpful silhouettes showing where the cameras should be placed in relation to the athletes.
- It’s very important that the athlete stays fully in view for their whole movement - if the camera can’t see part of their body, we can’t track it.
- Having someone stand in position and do a practice swing/pitch/jump can help you make sure your cameras are place far enough away from the athlete to capture their whole body.
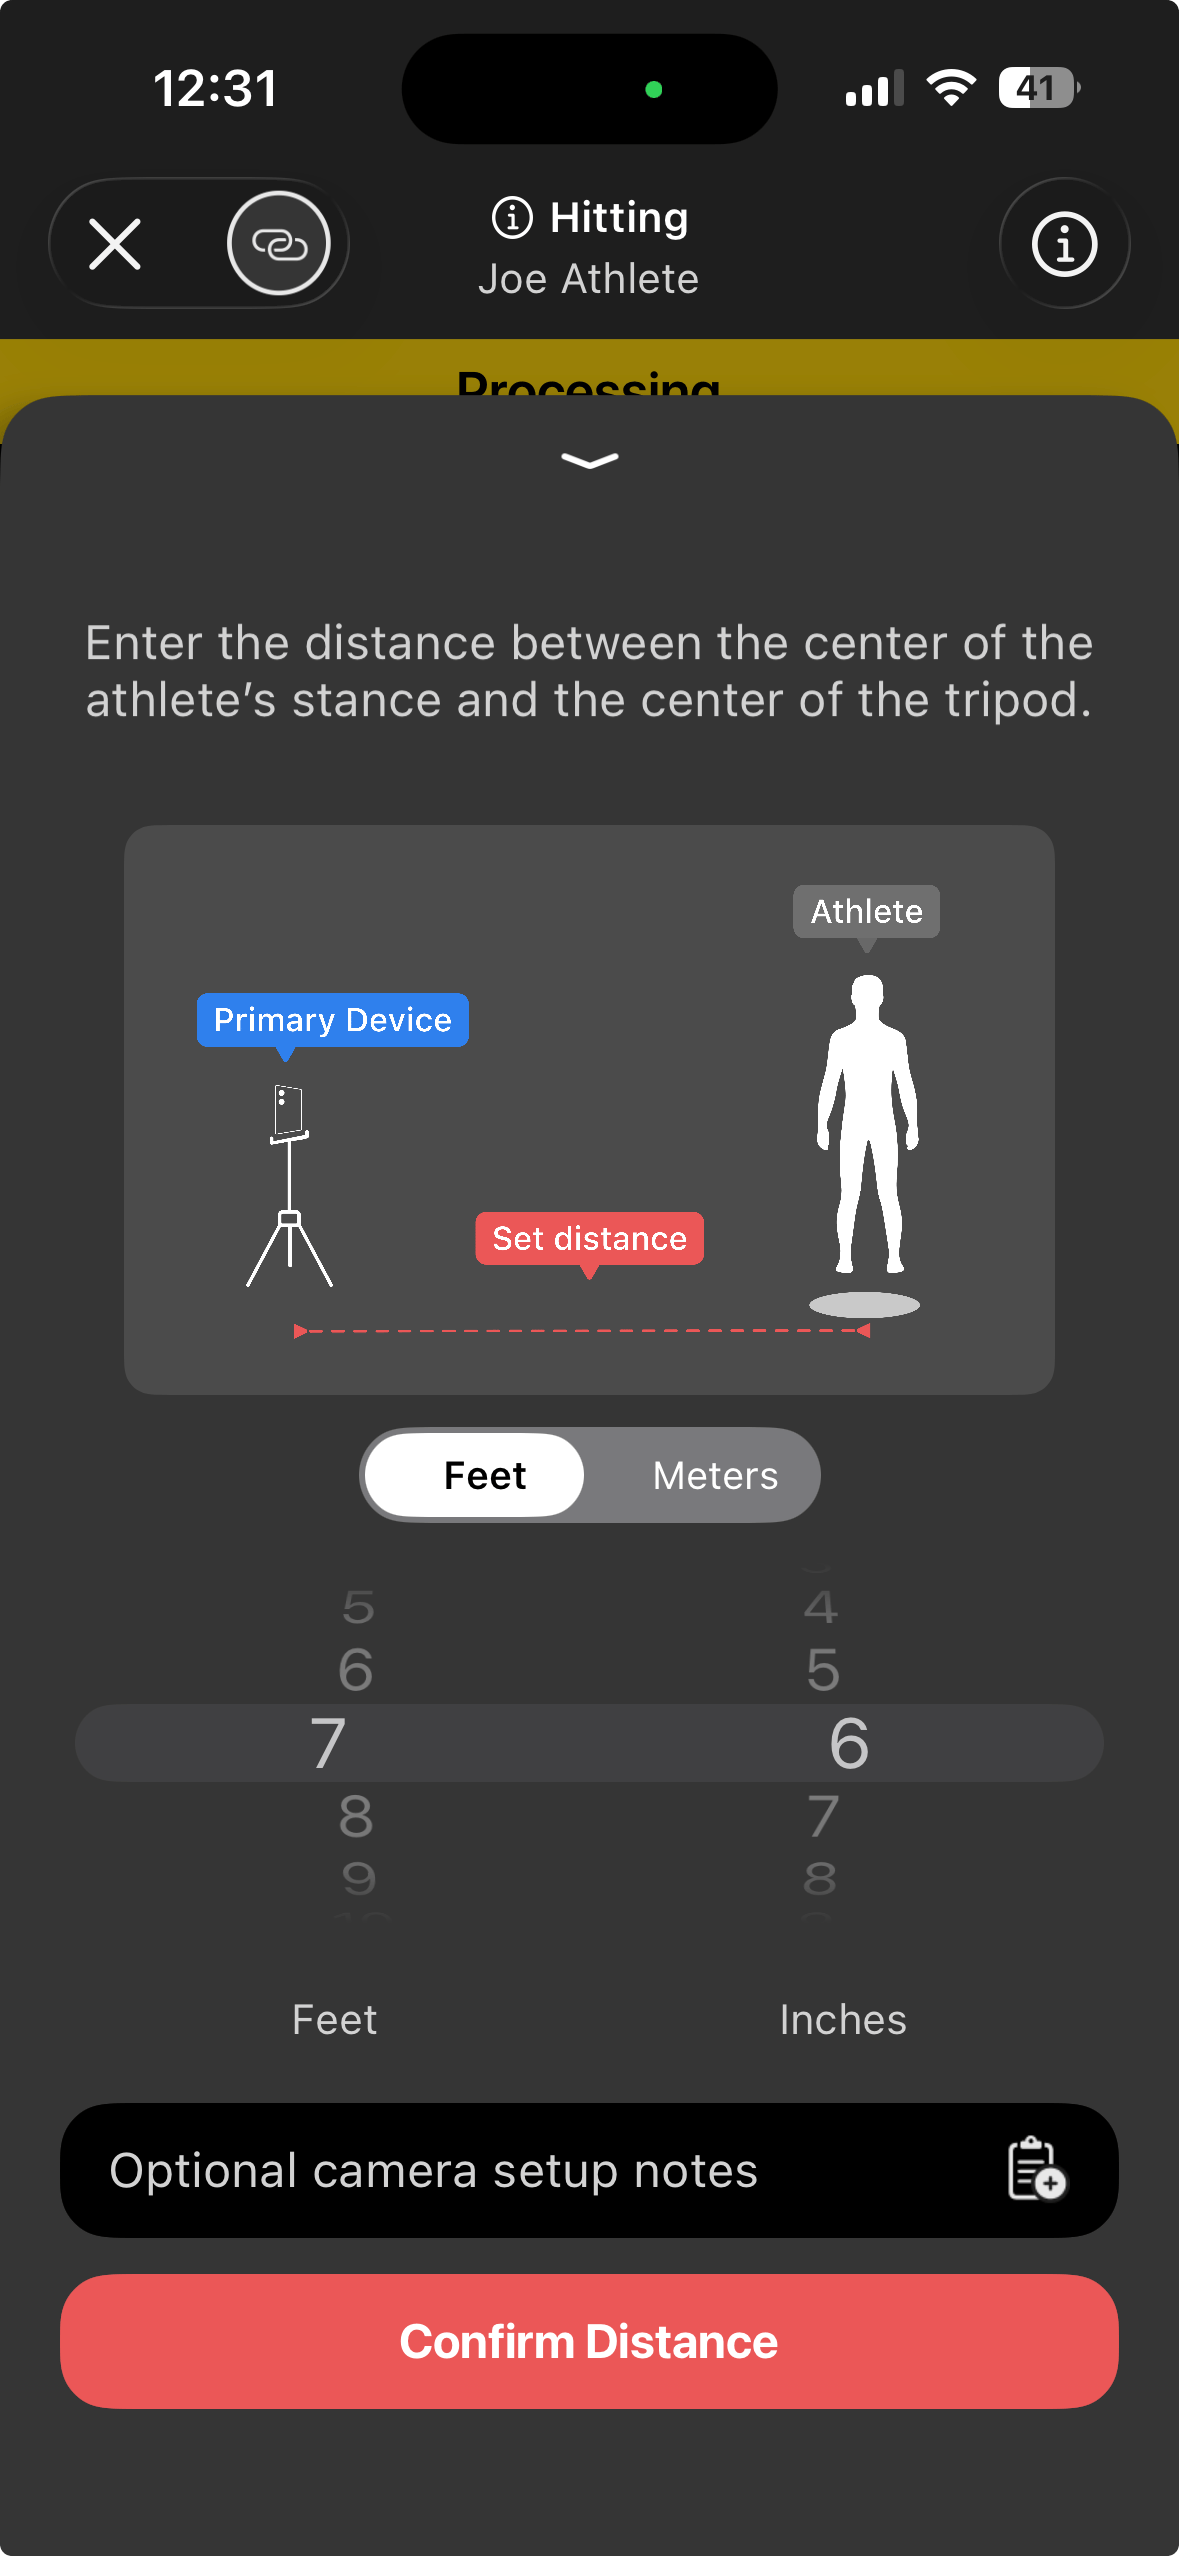
Step 5: Enter the distance
Once your cameras are placed at the proper distance, measure and enter the distances on each device.
Tips:
- Always measure from the center of the tripod to the center of where the athlete will be standing when they start the movement.
- If you’re capturing in the same facility every time, you can mark the tripod position on the ground with tape or paint, and make a note of the distance so you don’t have to re-measure every single time.
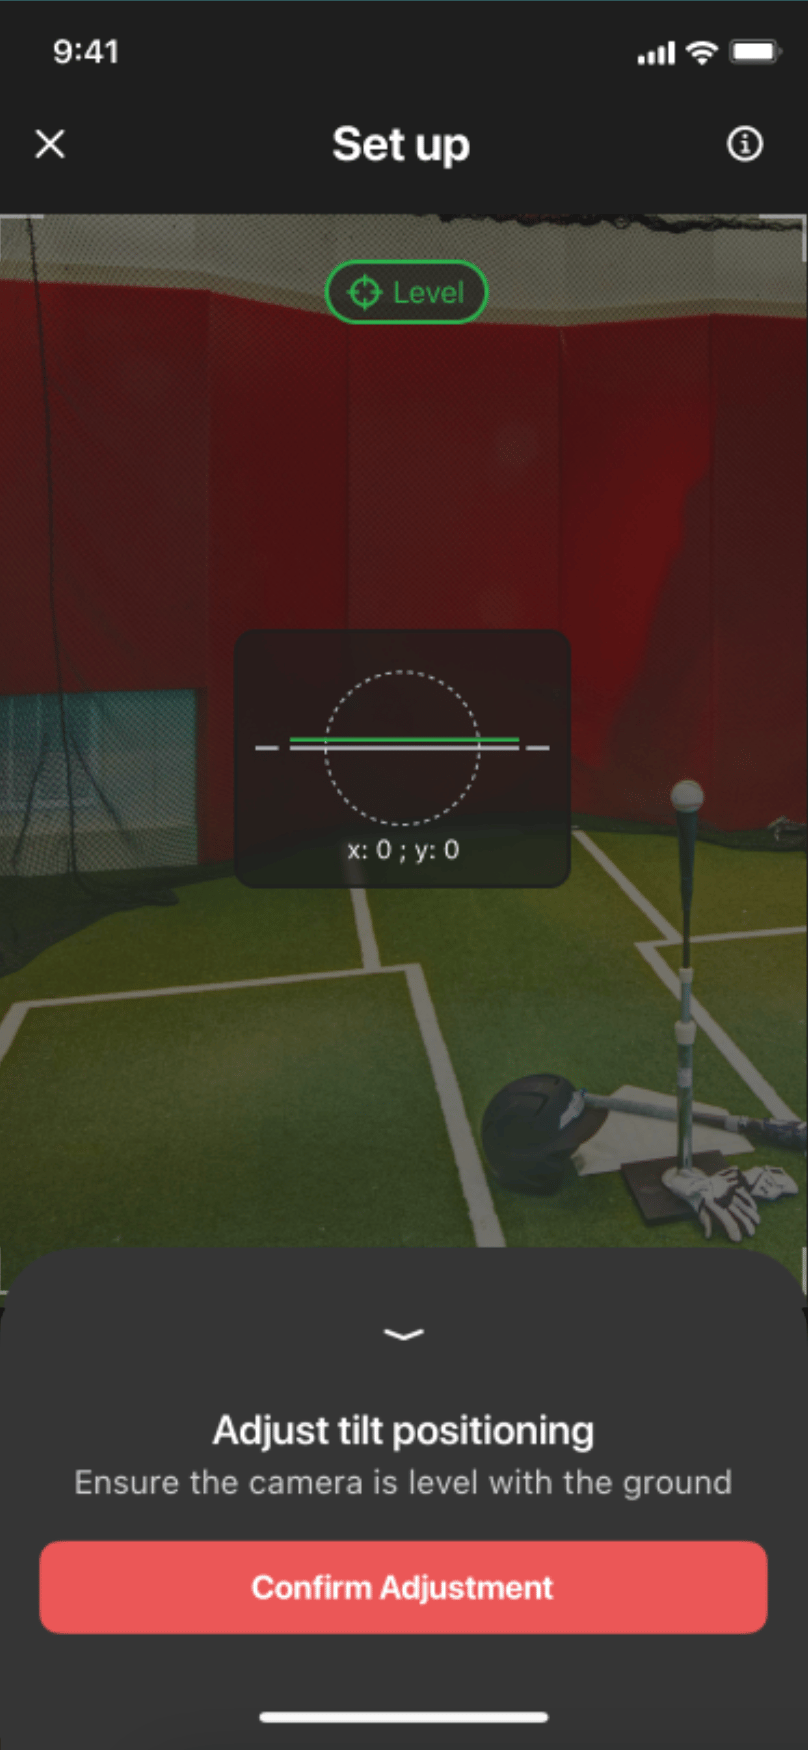
Step 6: Level the cameras
Lastly, you’ll adjust the tilt of the devices so they’re level, and then tighten down that position on your tripod. A good tripod or ball-and-socket tilt attachment helps a ton.